
Published On Jul 11, 2016
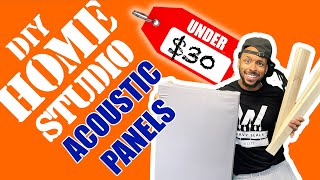
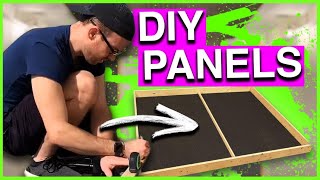
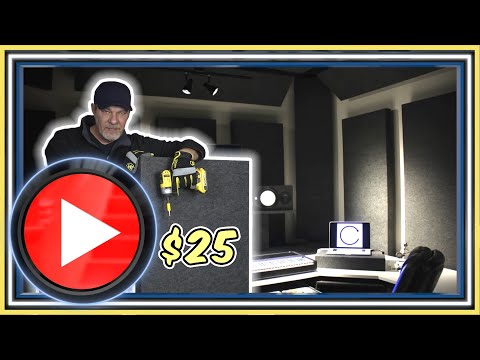
Learn to build professional acoustic sound panels that will make your listening, playing, singing or voicing space sound great. In this tutorial, we walk you through a simple and inexpensive way to build great looking DIY acoustic panels. All materials and tools are easy to obtain and use, and as of this video, the materials cost only $25 per panel. Enjoy!
MATERIALS NEEDED TO CONSTRUCT THE DIY ACOUSTIC PANELS
TO VIEW OR PURCHASE REQUIRED MATERIALS ONLINE CLICK HERE: http://geni.us/DIYPanelSupplies
FRAMES:
4' x 8' x ¾" thick MDF Plywood: Purchased at Home Depot . Home Depot will rip MDF sheets into 3" x 8' pieces to accommodate the thickness of the Roxul Insulation.
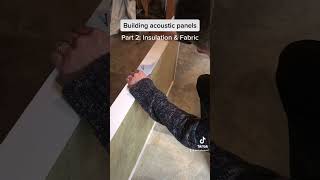
ROXUL INSULATION:
12 pieces per pack. Purchased at Home Depot. Insulation comes in 16" and 24 " to accommodate larger panels. If you'd like to build wider panels, special order the 24" Roxul and adjust all other material sizes accordingly.
FIBERGLASS SCREEN:
LOCTITE ADHESIVE – HIGH PERFORMANCE 300:
GORILLA WOOD GLUE:
1-5/8" DRYWALL SCREWS:
T-50 3/8" STAPLES
STICK ON BUMPER:
50 LB E-Z DRYWALL ANCHORS AND SCREWS
CARPET TRANSITION STRIP:
Purchased at Home Depot.
80 GRIT SANDPAPER:
FELT FABRIC: (Charcoal Grey): We used 9 yards of 72" felt for 8 panels. That was from what they call a "bolt" of fabric, which was 10 yards of continuous fabric.
TOOLS NEEDED TO CONSTRUCT THE ACOUSTIC PANELS:
TO VIEW OR PURCHASE REQUIRED TOOLS ONLINE CLICK HERE: http://geni.us/DIYPanelTools
SAW for cutting wood frame. Electric miter saw preferred for accuracy.
COUNTERSINK BIT with pointed tip.
SCREW GUN with Phillips tip.
STAPLER with T-50 3/8" staples. Electric is great but a manual stapler will work.
TAPE MEASURE
PENCIL
SMALL FRAMING SQUARE
RAZOR KNIVES
Large Razor Knife
Small Razor Knife
(long blade for insulation, short blade for fabric and screen).
RAZOR BLADES for small razor knife.
HAMMER
HACKSAW with fine teeth.
END OF TOOLS AND MATERIALS LIST
AUDIO AND VIDEO EQUIPMENT USED FOR THIS TUTORIAL:
Audio Equipment: http://geni.us/MyVoiceOverKit
Video Equipment: https://kit.com/votechguru/pro-voice-...
*links may be affiliate links.
Who I am: https://votechguru.com/
What I do: https://votechguru.com/courses
How to contact me: https://votechguru.com/contact/
SOCIAL MEDIA AND OTHER INFO:
Facebook: / votechguru
Instagram: / timtippets
Twitter: / timtippets
Tim Tippets - Voice Talent: • VOICE OVER DEMO | DEEP MALE VOICE OVE...
These DIY or homemade acoustic panels are also known as sound absorption panels, rockwool acoustic panels, DIY sound panels, etc. Add them to your vocal booth, home theatre, home studio or pro studio for improved sound and monitoring when mixing and mastering. The acoustic absorption will reduce sound reflection and enhance your ability to mix properly. Additionally, each panel may not be advertised as a bass trap, but they do absorb a significant amount of bass. More bass trap will occur as panels are added.
My preferred travel vocal booth solution: https://bit.ly/2LJDYQp
#HowToBuildAcousticPanels #DIYAcousticPanels #AcousticPanelTutorial