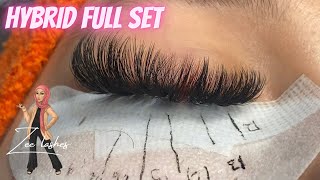

Published On Nov 28, 2023
Materials Needed:
Individual lash extensions in various lengths (short to long)
Lash adhesive
Lash tweezers (straight and curved)
Lash adhesive remover (for any adjustments)
Lash isolation tool
Lash wand
Steps:
Prepare the Workspace:
Ensure your workspace is clean and well-lit. Organize your lash extensions by length, making it easier to select the right ones during application.
Client Consultation:
Have a consultation with your client to understand their desired look. Discuss the length, curl, and density they prefer for the wispy spikes.
Isolate Natural Lashes:
Use a lash isolation tool to separate one natural lash at a time. This ensures that each lash extension is applied individually and precisely.
Selecting Lash Extensions:
Choose lash extensions of varying lengths, with a focus on longer extensions for creating the wispy spikes. You may also opt for lashes with a thinner diameter for a more lightweight and natural look.
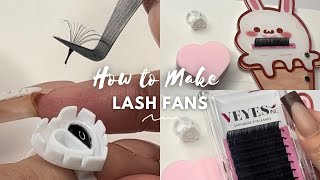
Applying Adhesive:
Dip the base of the lash extension into a small amount of lash adhesive. Ensure you have just enough adhesive to create a secure bond without excess.
Placement Technique:
Hold the lash extension with your tweezers, positioning it at a slight angle to the natural lash. Place the extension about 1-2 mm away from the eyelid to prevent irritation. Press the extension onto the natural lash, holding it for a few seconds to allow the adhesive to bond.
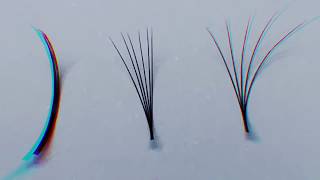
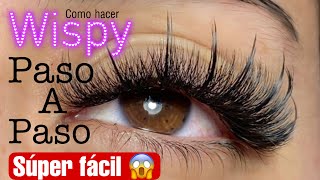
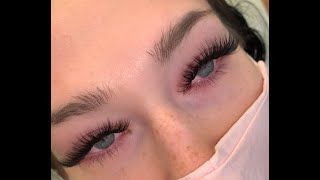
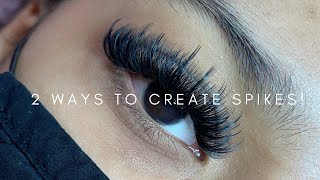
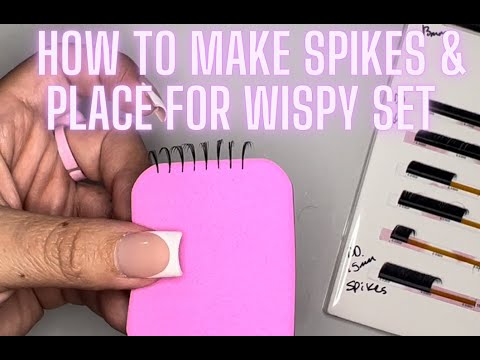
Creating Wispy Spikes:
For the wispy effect, use a combination of shorter and longer lash extensions. Apply the longer extensions towards the outer corners of the eyes to create a tapered, spiked look. Vary the lengths and mix them in a random pattern for a more natural appearance.
Alternating Directions:
Angle some of the extensions slightly upward and others downward to add dimension and create a textured, wispy effect.
Adjustments and Gaps:
Periodically step back and assess the overall look. If there are gaps or uneven areas, carefully add or adjust individual extensions using lash adhesive remover as needed.
Final Check and Comb:
Once all extensions are applied, use a lash comb to gently separate any lashes that may have clumped together. This ensures a clean and wispy appearance.
Aftercare Instructions:
Provide your client with aftercare instructions, including avoiding oil-based products, rubbing the eyes, and excessive moisture for the first 24 hours.
Remember, practice is key to mastering the art of creating wispy spikes. Each client may have unique preferences, so adapt the technique to suit their desired look while maintaining a natural and comfortable feel.
THANK YOU FOR WATCHING
Don't forget to
LIKE | COMMENT | SHARE | SUBSCRIBE
Instagram @ Elevated_beautyco
TikTok @ Elevatedbeautyco